Getting started
Atlaso is delivered as a Photon OS 5.0 appliance. VMware Workstation is the default live-test and documentation target; Hyper-V provides the authoritative lifecycle environment for exact access and trunk VLAN behavior.
Interface overview
This verified appliance view provides visual orientation before you begin.
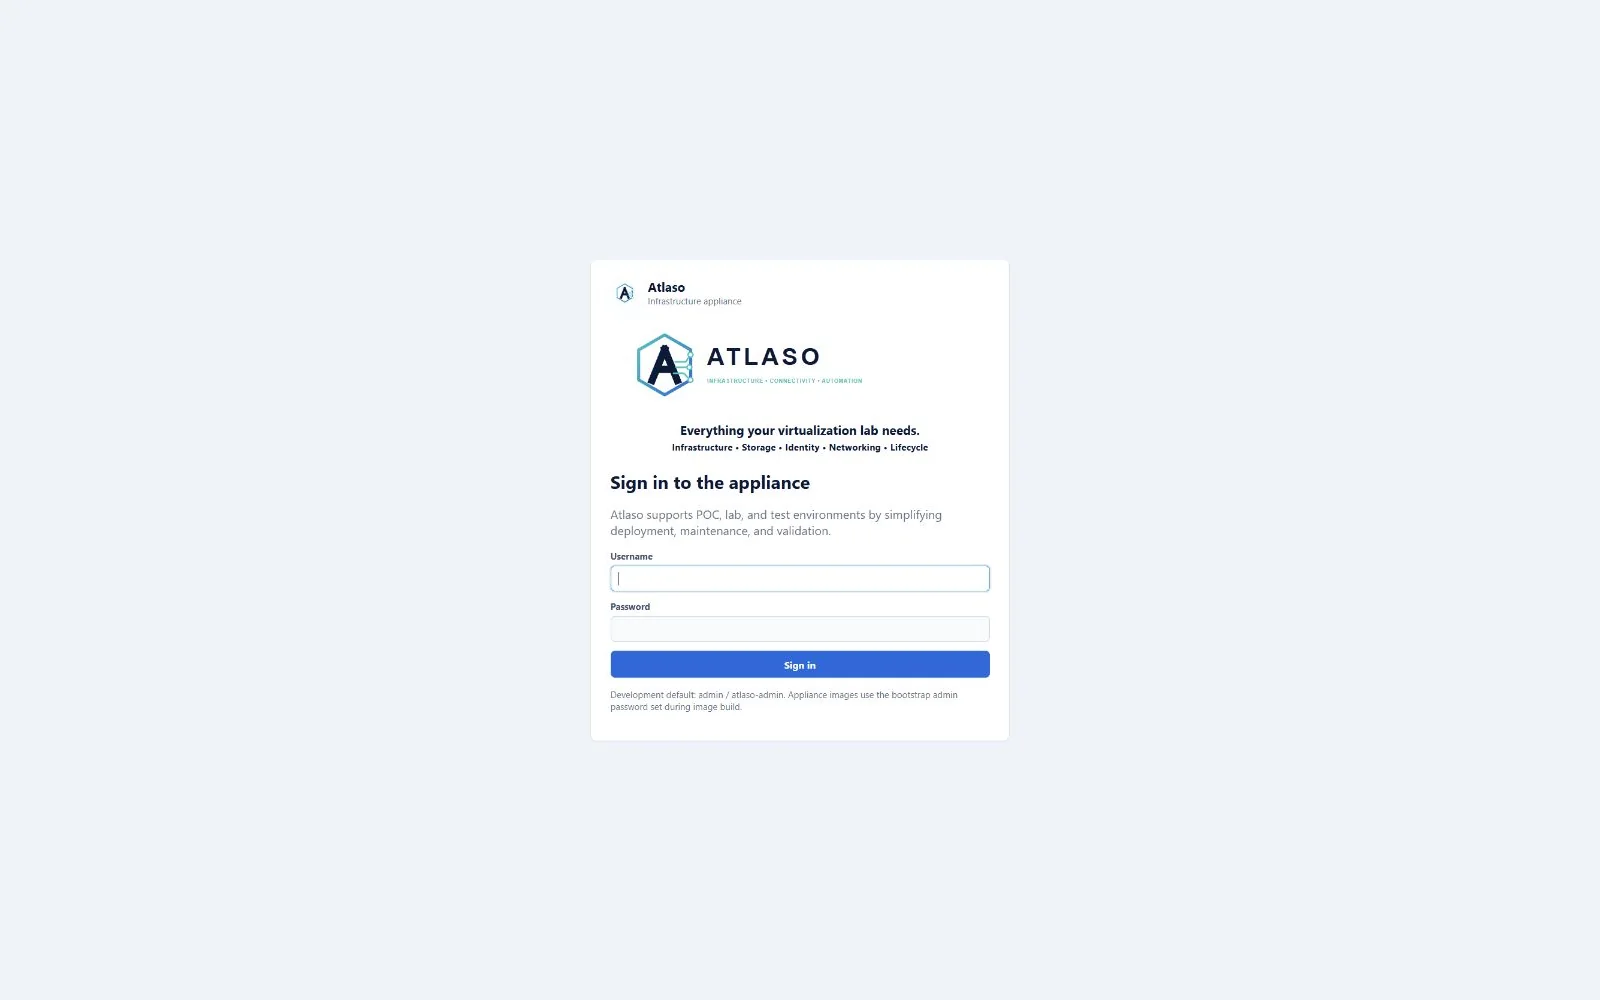
Figure: Appliance sign-in in the verified desktop viewport.
First-use sequence
- Build or obtain the appliance by following the full technical reference.
- Start the VM and wait for the local console to report the management address.
- Open the HTTPS management UI and sign in with the bootstrap administrator.
- Confirm management networking and Appliance Settings validity on the Dashboard.
- Configure required services as desired state.
- Review and submit the first global appliance change.
- Confirm that the task succeeds and the Dashboard leaves setup-readiness mode.
Do not treat an assigned IP address, a running VM, or a green service alone as application readiness. Verify the
host-facing /openapi.json endpoint before beginning configuration.
Installed web app behavior
Atlaso can be installed as a standalone web app. Successful sign-in continues in the current browser context, and supporting browsers reuse the most recently active Atlaso app window for later launches instead of creating duplicate windows. Browsers that do not support launch handling continue to use their platform default.
Additional verified states
These captures show responsive layouts and useful operational states referenced by this page.
Services
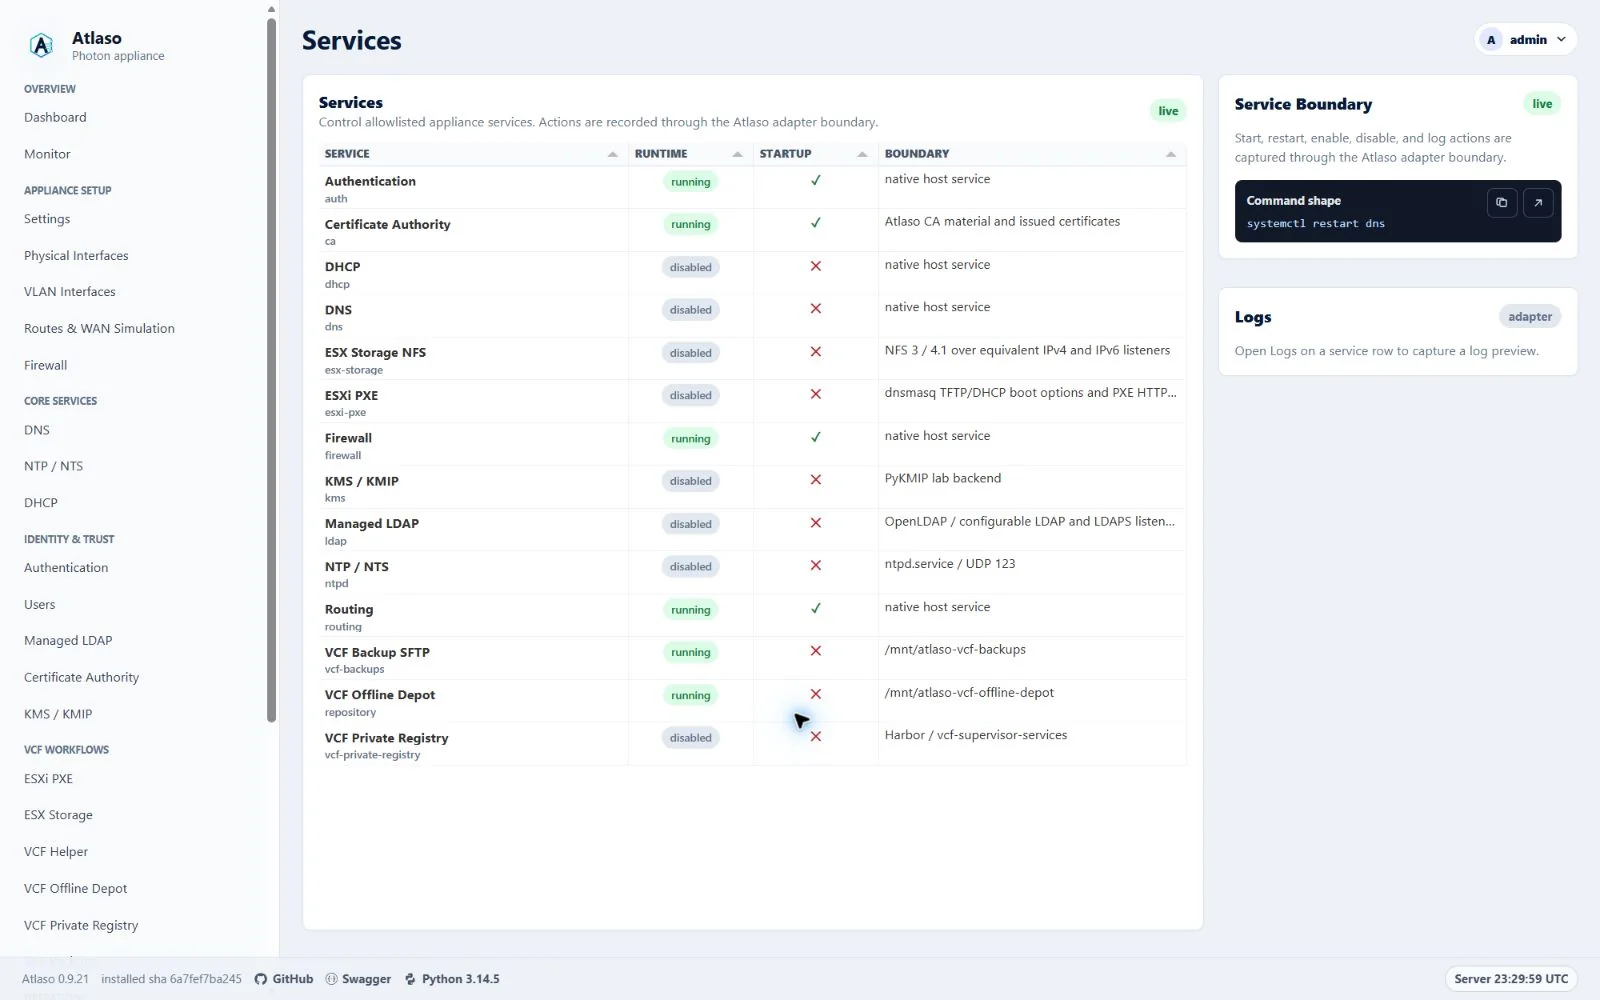
Figure: Services in the verified clean-appliance desktop state.
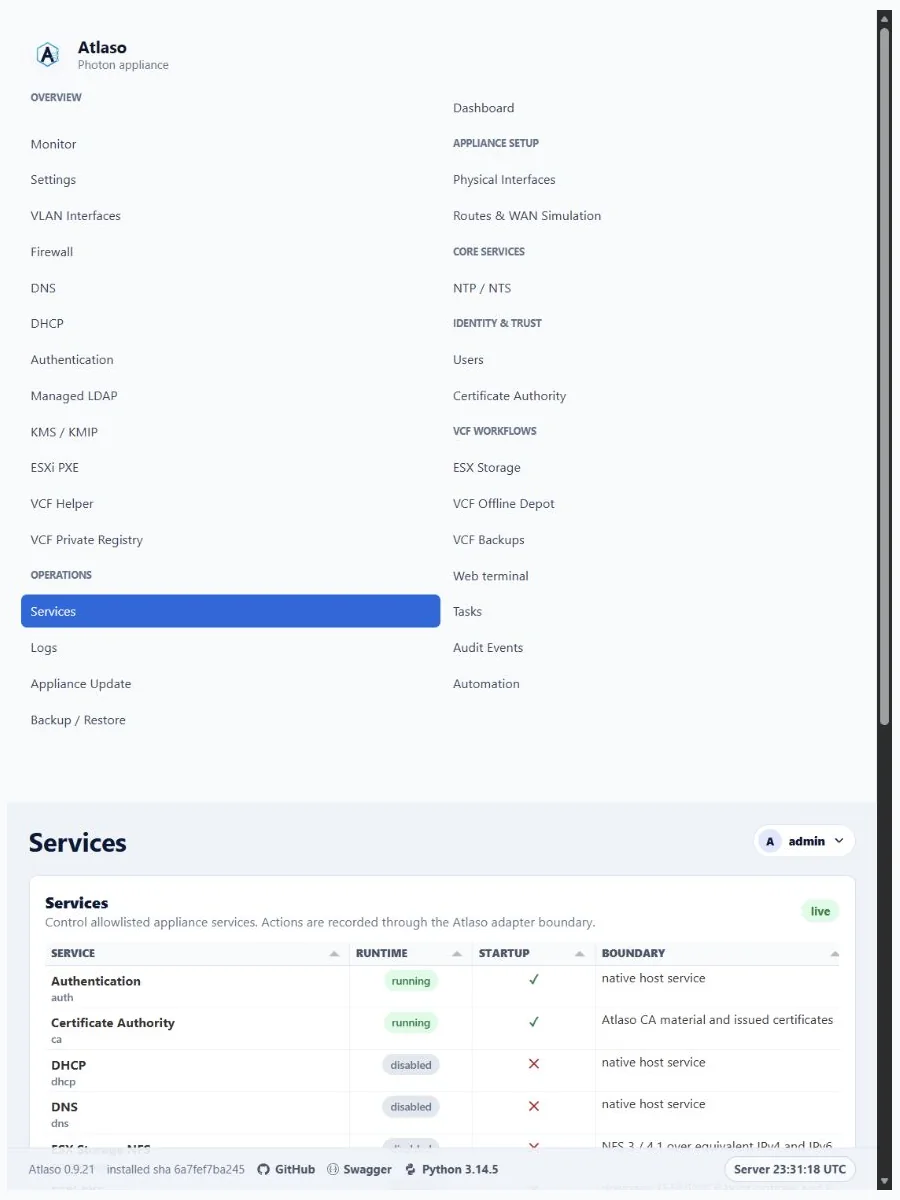
Figure: Services in the verified clean-appliance responsive state.
Sign in
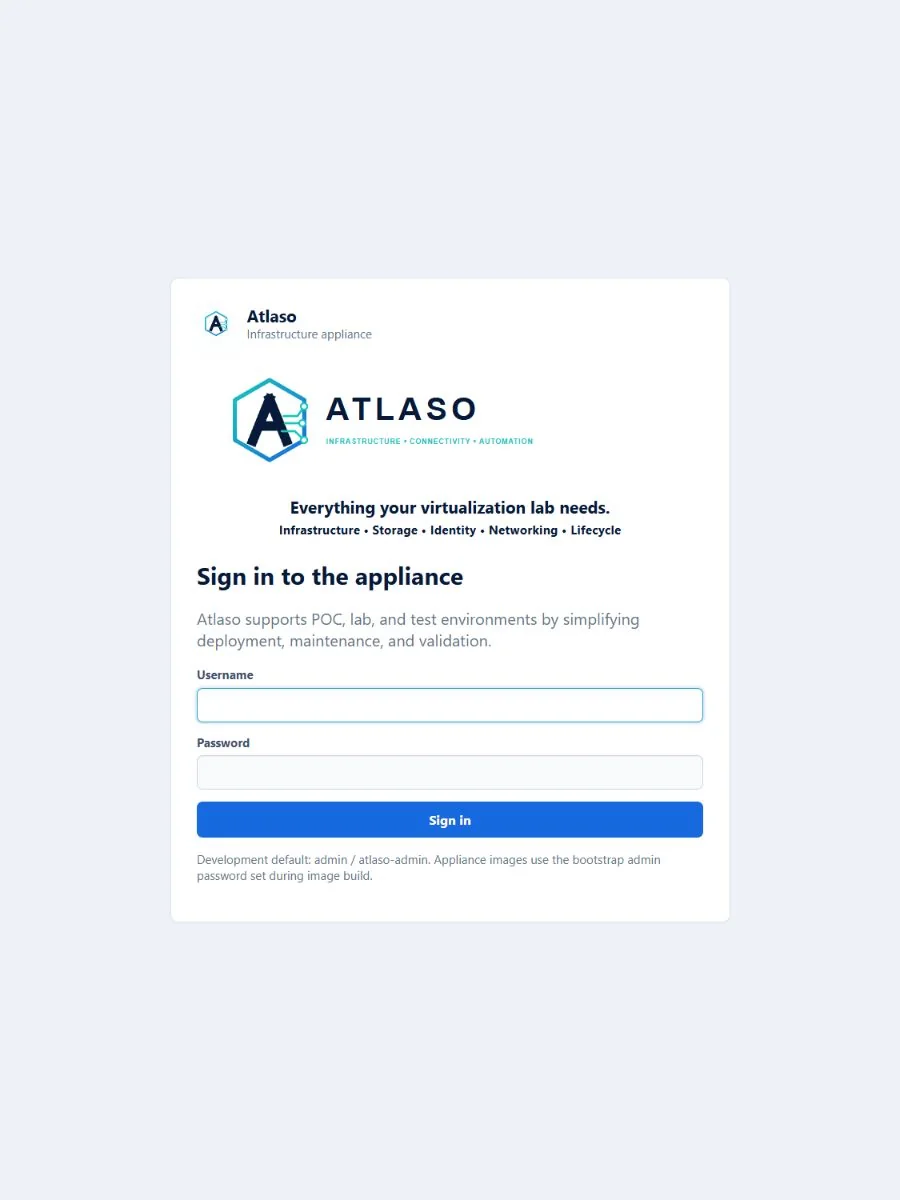
Figure: Appliance sign-in in the verified responsive viewport.